
In the years following World War II, commercial aviation entered a period often called the “Golden Age of flying,” spanning roughly from the late 1940s to the 1970s. During this era, air travel was far more than a practical way to move from one city to another. Because flights were relatively rare and tickets were expensive, flying carried a sense of prestige and excitement. For many travelers, stepping onto an airplane felt like attending a special event rather than simply beginning a journey.
Part of this exclusivity came from the high cost of airfare at the time. Tickets were priced well above what many households could comfortably afford, which meant that passengers were often business leaders, professionals, or individuals celebrating significant occasions. For example, a mid-1950s round-trip flight between major American cities could cost the equivalent of well over a thousand dollars in today’s currency. With fewer passengers and limited routes, airlines focused on delivering a memorable experience rather than moving large numbers of people efficiently.
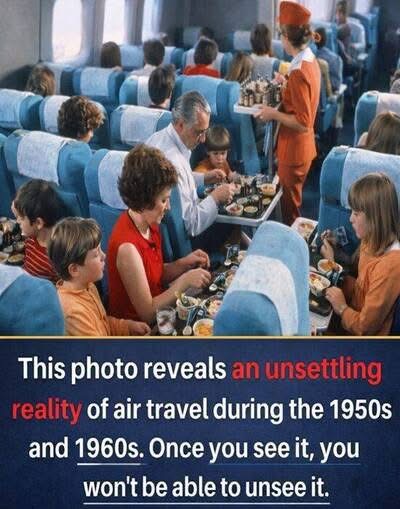
Cabins were designed with comfort and style in mind. Seats offered generous legroom, and some aircraft even included lounge areas where travelers could relax and socialize. Meal service was treated as an important part of the journey, with carefully prepared dishes and attentive cabin service that resembled dining in an elegant restaurant. The atmosphere on board often encouraged conversation among passengers, creating a social environment rarely associated with modern flights.
Airports and travel procedures were also simpler and more relaxed than they are today. Passengers often dressed formally for flights, reflecting the sense of occasion that surrounded air travel at the time. While aviation has since evolved to prioritize accessibility, safety, and efficiency, the memory of this period continues to inspire nostalgia. Elements of that earlier style—such as premium cabins and elevated in-flight service—remain part of the industry, reminding travelers of a time when flying felt like a remarkable experience in itself. ✈️